Apple recently gave developers the ability to transfer ownership of apps in the App Store. While this certainly helps people who are selling their app to another developer, it’s immediately useful to me to solve a problem I’ve had for about a year now.
When I developed my first iOS application (Easy Pitch Counter) I signed up for an individual iOS developer account. Later when my wife and I started our company, I signed up for a company/organization iOS developer account so that we could keep company-related revenue/paperwork/etc. separate.
At the time, Apple didn’t allow you to transfer apps between developers, so I was stuck leaving my original two apps under my personal account while new apps went under the company account. Now that transfer is enabled, I moved all of my apps to the company account. The process is quite straightforward.
Starting a Transfer
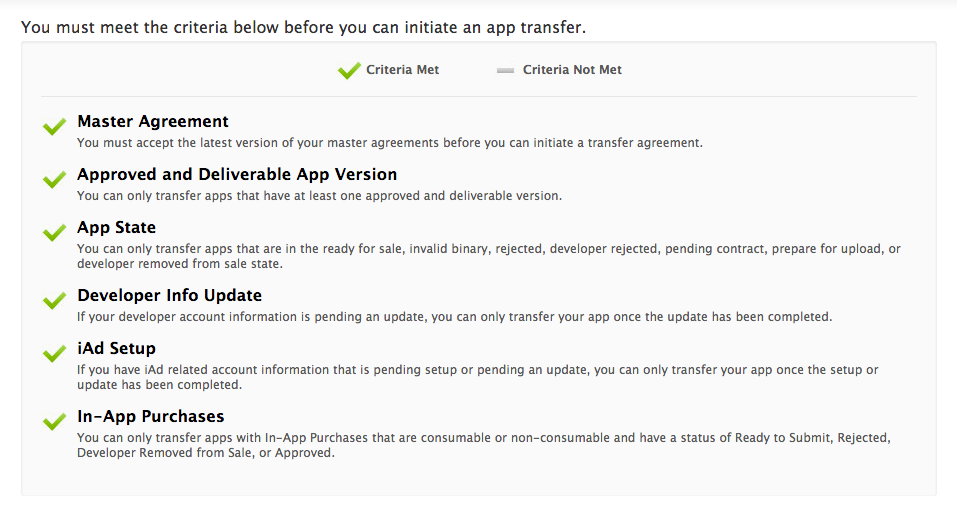
The first step is to log in to iTunes Connect using the account that currently houses the application to be transferred. Head to the app details page and click the “Transfer App” button. This brings you to a summary page that lists all of the requirements to enable app transfer as well as whether or not the current app meets them.

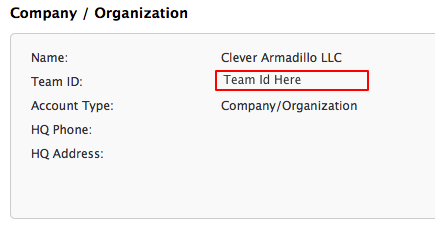
The next thing you need is the information for the developer you’ll be transferring the app to. The recipient’s Apple ID is the easy part, but you’ll also need the recipient’s team ID. You can get this value by logging into the iOS Dev Center using the account that will receive the transferred application. Then proceed to the Member Center and click the organization name near the top of the page. This will display the account’s profile, where you can find the necessary team ID.

After entering the recipient information, you’re presented with a transfer agreement that you must agree to. Once you agree, the work is done for the account initiating the transfer. The app detail page for this app will now display a banner indicating that a transfer has been initiated:

Accepting the Transfer
The next steps relate to accepting the inbound transfer using the destination account in iTunes Connect. Once you log in using the destination account, head to the “Contracts, Tax, and Banking” section to view any inbound transfers.
Select the pending transfer to see the incoming transfer agreement. You’re also presented with the opportunity to update some of the app’s metadata (the items I saw were the support and marketing URLs and the app review contact info). After filling in the metadata and accepting the agreement the actual transfer process is started.
Apple says it may take up to 3 hours for the transfer to complete (or up to 2 days in some cases) but both apps I transferred were completed in a matter of minutes.
This new ability to transfer apps may not seem like a big deal if you’re not selling any of your apps but having one active iOS developer account simplifies things for me. In addition to the financial/paperwork aspect, having only one set of certificates/provisioning profiles/etc. is a big win for me.